documentation
Working Groups
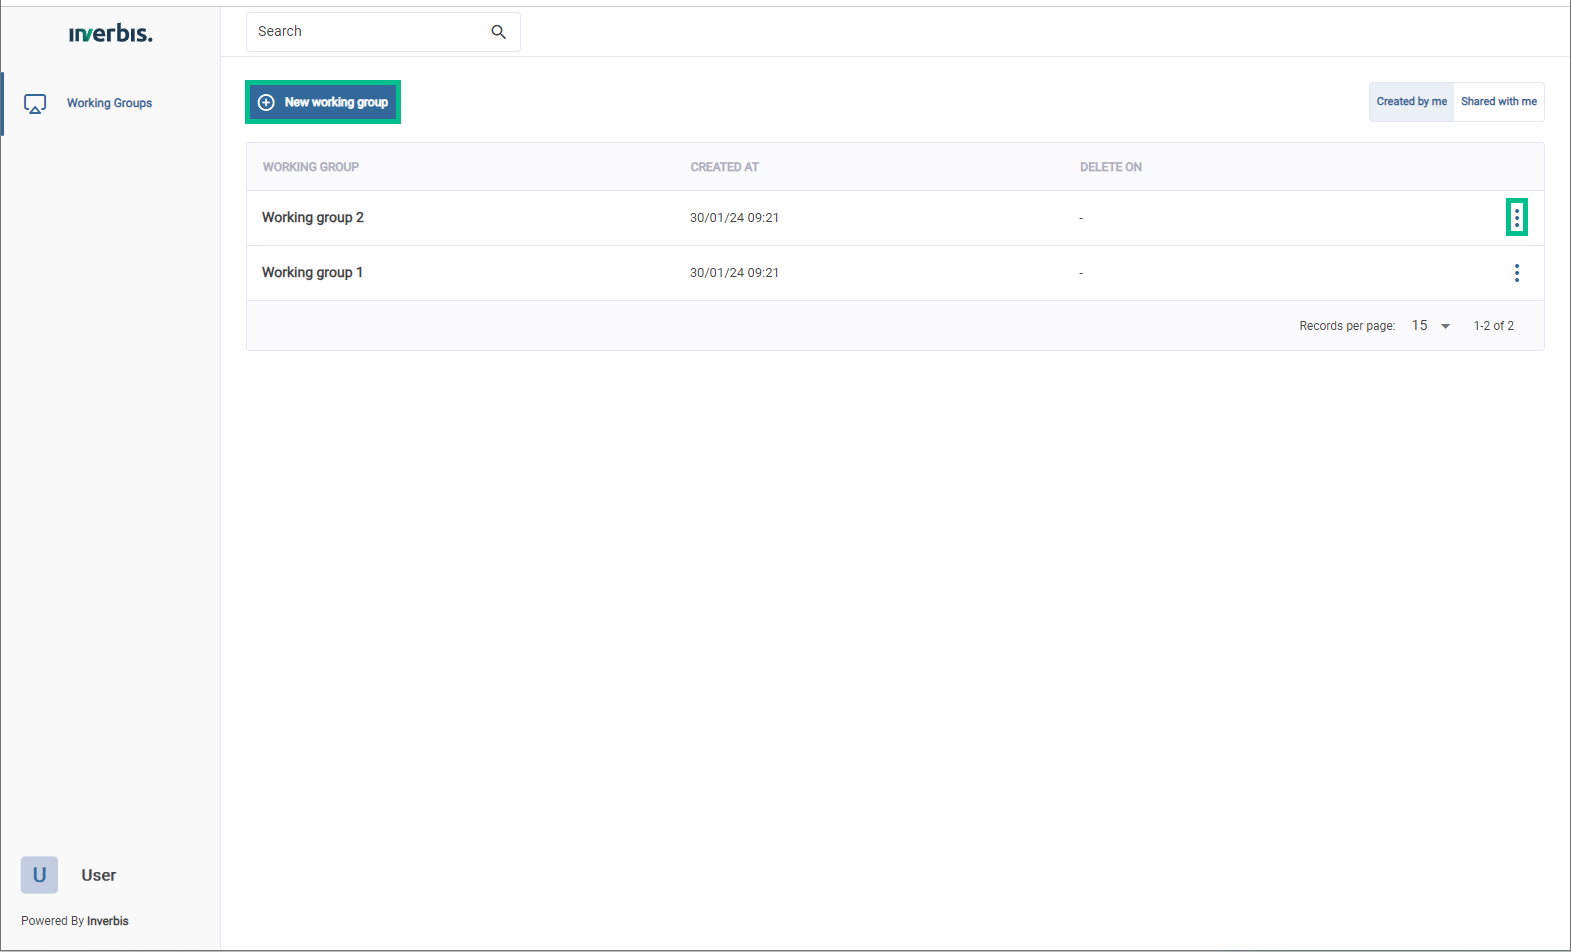
This window now displays all the workgroups created, as well as their creation date. To search for a workgroup you have the option of using the search engine located at the top.
To access a workgroup, simply click on it. You can also edit the name of a workgroup or delete it from the button, represented by three dots, located on the right of each workgroup.
When you have accessed your working group, you find 3 sections: projects -selected by default-, invitations and notifications.
Projects
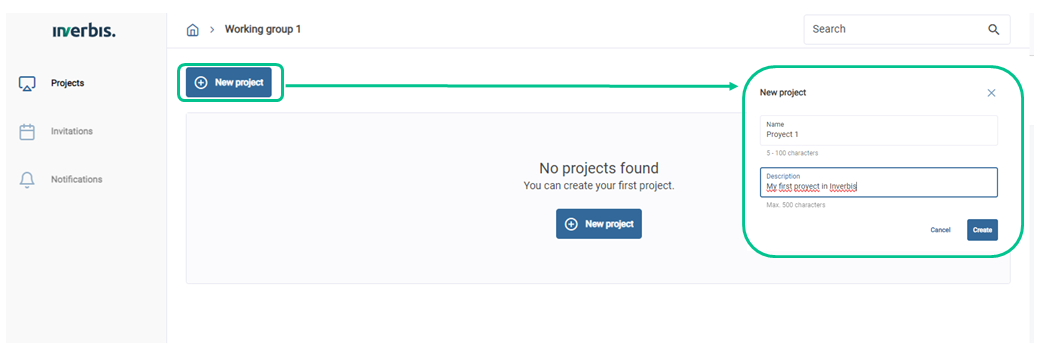
The first time you access it, you will appear in the projects tab where you will find a window like the one in the following image, to create your first project simply click on the new project button, then a pop-up window will appear to enter the name and description of the project, both parameters can be modified in the future.
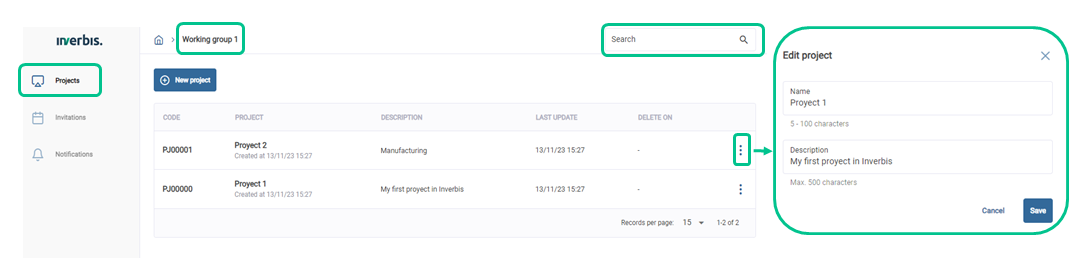
When you have several projects already created, your project window will look similar to the image below.
From here you can access a specific project by clicking on it, as well as search for projects using the search engine located in the upper right-hand corner or edit each of the names and descriptions using the three dots located to the right of each project. In the upper left corner you will always have the path to the directory in which it is located.
Invitations
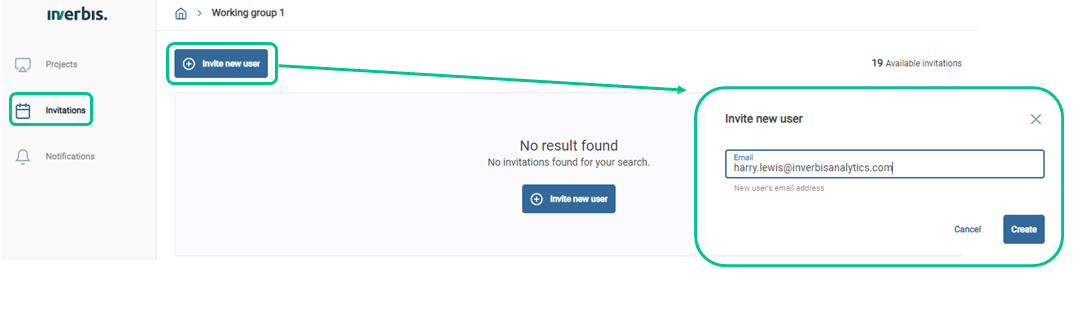
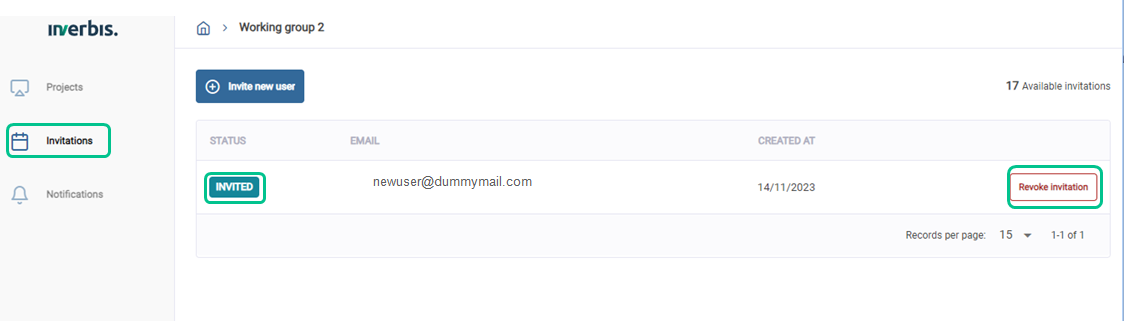
When you click on the button to invite a user, a pop-up window will appear where you can enter the user’s email address and the user will receive an email with a notification of the invitation.
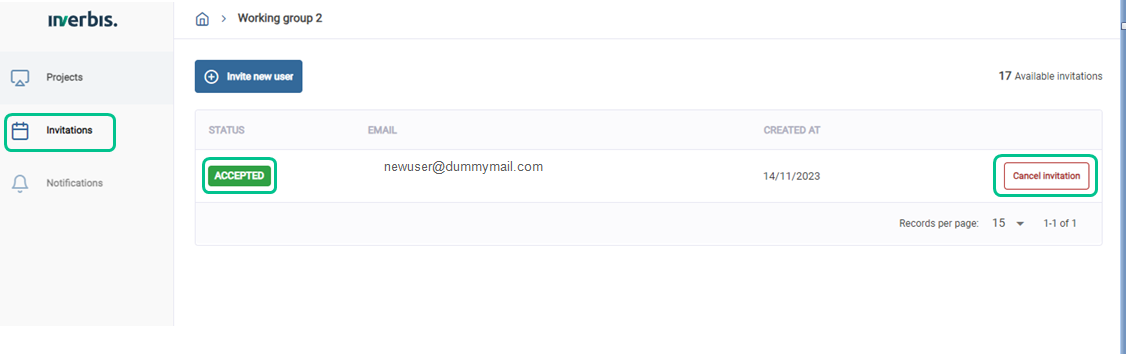
Once a new user has been invited, they will be listed on the screen with a status of “invited”. When the new user accesses the project for the first time, the status of the invitation will change from “Invited” to “Accepted” as shown in the following images.
You can cancel or revoke any of the invitations by clicking the red button to the right of each invitation, called ‘Revoke invitation’.
Notifications
To check a notification, click the button in the ‘content’ column. After reading it, you can mark it as seen using the button in the ‘actions’ column. Once marked as seen, the ‘seen’ column will show the date and time it was viewed.
To search for notifications there are date filters at the top right, as well as a button at the top left that allows you to hide those notifications already marked as viewed.
